Visual Regression Testing with Playwright
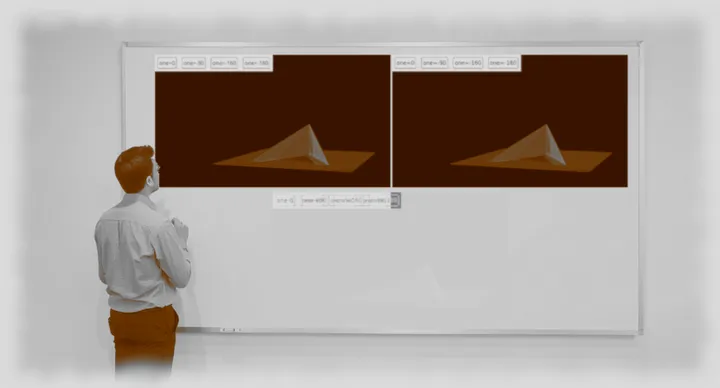
How do you test 3D transformations? In my last project I had this problem and the only viable way that I found were visual regression tests. I played with visual testing a couple of years ago, using Selenium and other tools. Now I wanted to find out how well it works with the latest of the testing-frameworks: Playwright.
Visual testing is not impossible, but it has some caveats that need to be taken into account, such as font-rendering and anti-aliasing. I had this problem some years ago and somehow I would have hoped that playwright, offering built-in visual testing, would have solved them. But first, about my problem:
Simulating popup cards
Earlier this year, I create present for my niece. I remembered that someone once gave me a self-made popup-card and I wanted to do the same thing. So I did some research and found a YouTube channel that had a lot of information on how to do that. Surprisingly, you can build such cards without doing a lot of maths. But for more complex cards, where you need to create multiple structures and fit them together, you will probably need to do some calculations. After I did some of those manually multiple times, I decided to write a small program to do them for me.
But imagine the possibilities… Would it not be cool to visualize the computed figures? Maybe even simulate them? Maybe even build a complete popup-simulator and editor where you glue together different shapes and simulate how they fold and unfold?
After some initial experiments I decided to build popup-card-js, a library for JavaScript that provides basic functionality to simulate popup-cards. It uses Three.js and Rapier.rs under the hood to do 3D rendering and physical simulations.
But how do I test this? Well, some functions can certainly be unit tested
easily, but a lot of the functionality depends on Three.js and Rapier.js. In
fact, most is just about creating the correct world model and letting the
simulation run. I could write tests that expect certain vertex coordinates - and
I did. But to be honest: The human mind is not made for converting a lot of 3D
coordinates into a visual model of the object. An expect statement that
contains a lot of numbers is not easily understandable.
Manual testing
My first attempt was to write a small framework for manual-tests. A bit like Storybook, but much simpler. The idea is to have quick setups for test-situations, so that a tester can simply click his way through them and verify that everything is fine. A manual-tests basically consists of a function that renders a test-scenario into an HTML element.
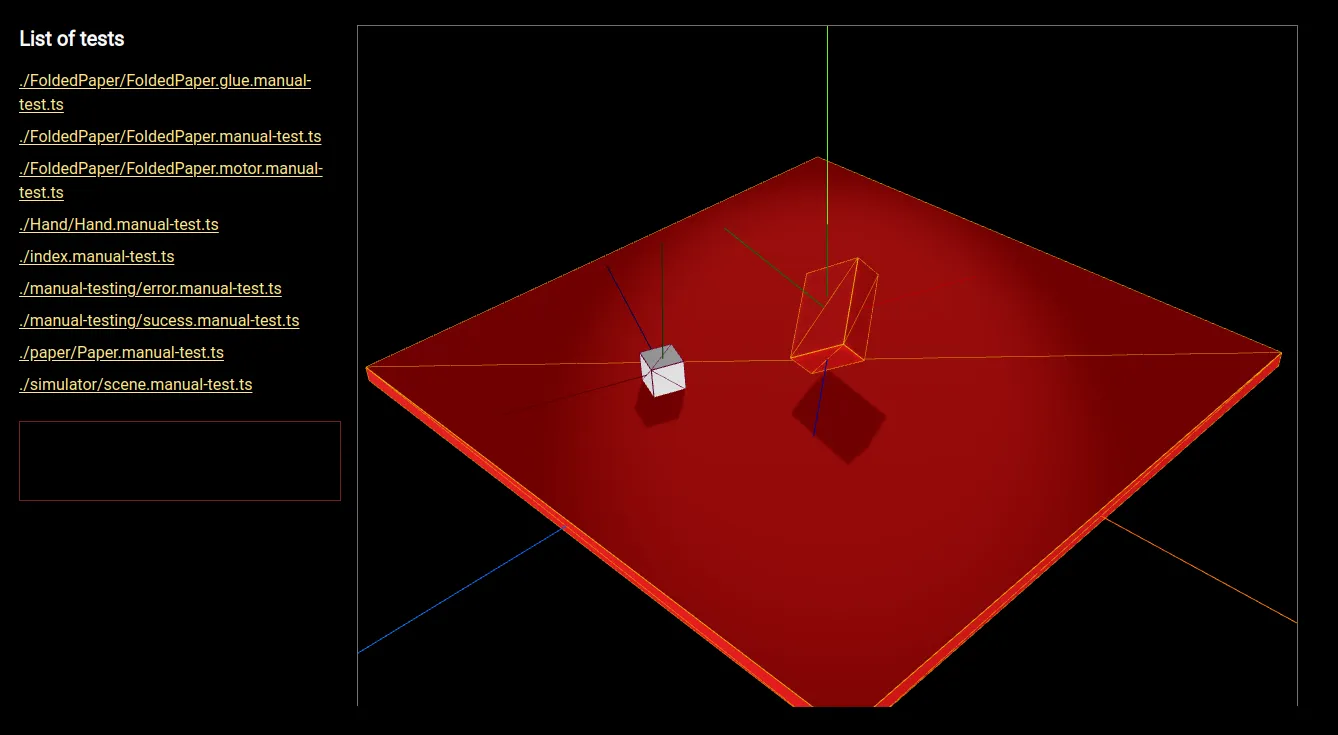
But if the tester needs to know what to do, we also need a test-description. And that’s when my thoughts pivoted again.
Do I really want to click through all the tests before each commit? Is there no way to automate this?
Automated visual tests
As I said, I have worked with visual regression testing before. It generally works, but there are some caveats. It all boils down to the difficulties of image comparison. We compare a reference screenshot to the actual screenshot of the browser during the test and in the best case, those images equal down to the pixel.
This yields some requirements:
- Determinism: The state of the test at the time of the screenshot must always be the same. Rendering placeholder images from placekitten.com will probably break your test at some point, because it might deliver another kitten tomorrow. This is also a problem when embedding videos, doing animations and physical simulations, if you don’t get the timing exactly right.
- Same rendering across platforms: The screenshot may be slightly different on your machine, on your colleague’s machine and in CI/CD. As stated above, this comes from things like font-rendering and antialiasing.
Wait, did I say physical simulations are a problem? Did I also say I am doing physical simulations in my library?
Luckily, Rapier.rs is deterministic, which means that if you set up a physical world and let the simulation run for a fixed number of steps, it will result in the same object positions every time. Usually, one “step” is done for each animation frame. But for the test, we can also do the steps programmatically and then render the world. Problem solved.
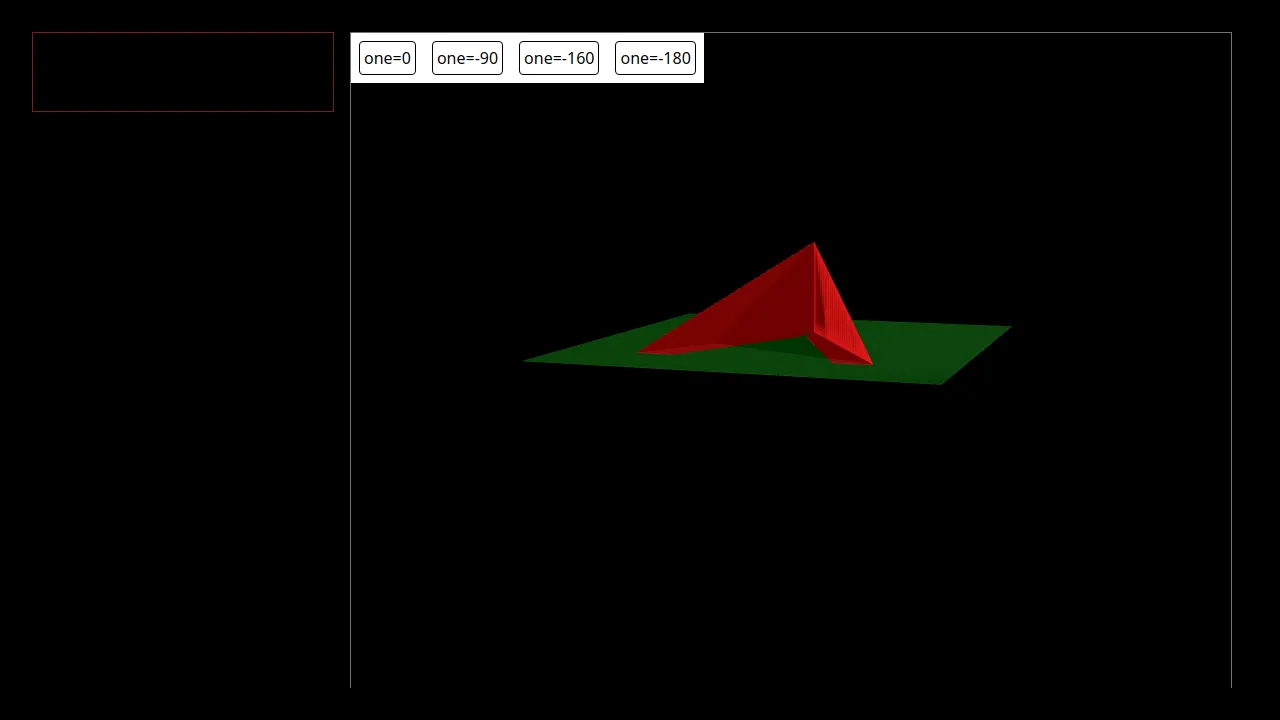
Solving font rendering is a bit more difficult. I had hoped that, since Playwright has a built-in “toHaveScreenshot” expectation, the playwright authors would have provided some kind of unified font rendering across platforms, but this is not the case. It turned out that the tests were working very consistently on my machine, but when I finally got them running in GitHub actions, they failed, because of some text that was only marginally related to the test itself.
This is the expected screenshot, created on my machine:
This is the screenshot created in GitHub actions:
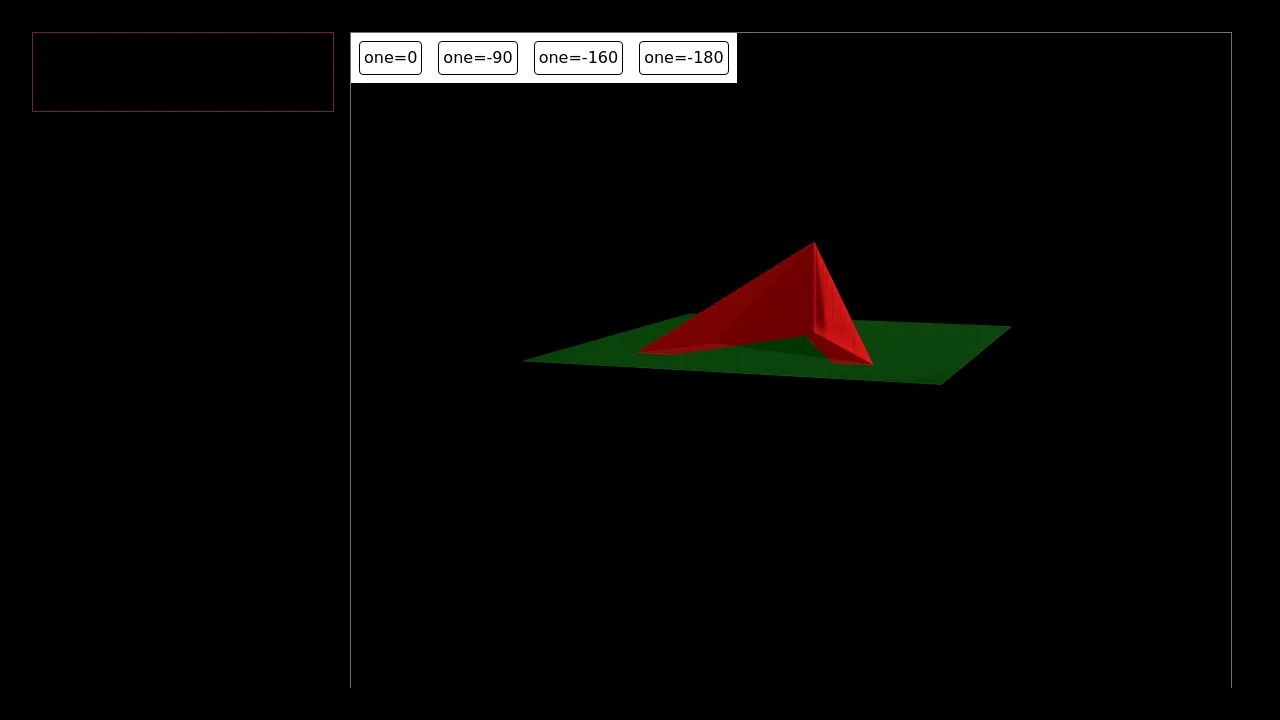
Can you spot the difference?

The first thing I tried to do is provide web-fonts and force the browser to use it. The tests still failed in GitHub Actions, but I could hardly see any different in the screenshots. I suspect this is due to antialiasing or other rendering shenanigans.
Generally, there is a solution to slightly differing screenshots. Playwright allows to configure thresholds for the number of pixels that are allowed to be different. And for the amount of change that makes a pixel qualify as different. I find it hard to adjust these thresholds, because there is no way to find good values through reasoning. We can set those thresholds as a last resort in order to quiet a flaky test. But you can never know when it will lead to a false positive.
I prefer to ensure that the images don’t differ.
Unified browser environment
When I encountered this problem at work, our solution was to make ensure that the same browsers and environments were used on each developers machine and in CI/CD. We did this by starting a Selenium Hub on a server, along with an ssh-subsystem for reverse TCP tunnels.
When a test needed a browser, it would
- request one from the Selenium Hub
- create an SSH connection to the server running the browsers
- create a reverse SSH tunnel back to the machine running the test
- access the frontend-under-test via the reverse tunnel.
A few years later I created the npm-package node-chisel-tunnel to facilitate such a setup, but it was never really used.
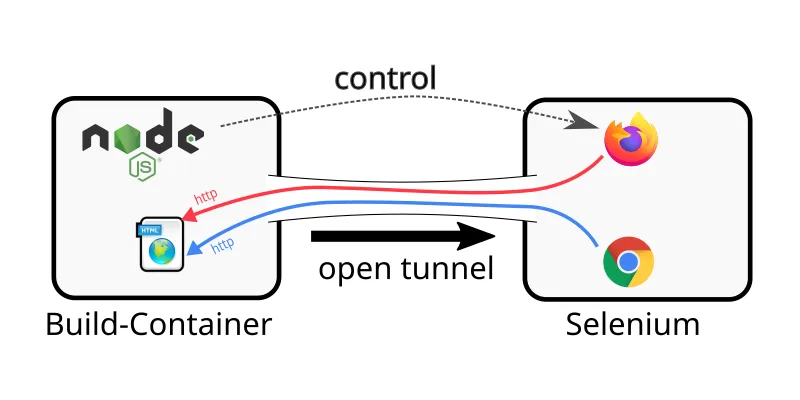
We can do a similar thing with Playwright, but this time we don’t use a dedicated server. We just use a docker container to create a unified environment that we can use everywhere.
Playwright, Docker and run-server
Playwright provides a docker image that contains all the browsers and the necessary dependencies to run them. It does not contain the npm-package, but it does contain Node.js.
Playwright’s executable has an undocumented CLI-option run-serer, which opens
a web-socket port for clients to connect to, similar to the Selenium Hub. There
is no ready-to-use docker image for running this server, but this is easy to
build with the following Dockerfile in the playwright-docker directory.
FROM mcr.microsoft.com/playwright:v1.48.1-noble
RUN npm install -g playwright
CMD playwright run-server --port=3000
Then we can create a docker-compose.yml that will run the playwright server.
services:
  browsers:
    build: ./playwright-docker
    ports:
      - 3000:3000
    extra_hosts:
      - "host.docker.internal:host-gateway"
The extra_hosts part is described in more detail in
this StackOverflow answer. It is
required for the browsers to be able to access the host machine, where the
web-server is running, across platforms. Finally, in the plawright.config.ts,
we start the web-server and use host.docker.internal as baseURL. We also use
connectCoptions.wsEndpoint to let the test-framework request a browser from
the docker-container.
import { defineConfig, devices } from "@playwright/test";

export default defineConfig({
  /* ... */
  use: {
    baseURL: "http://host.docker.internal:5173",
    trace: "on-first-retry",
  },
  webServer: {
    command: "npm run dev:server -- --port 5173 --host 0.0.0.0",
    url: "http://localhost:5173",
    stdout: "pipe",
    reuseExistingServer: !process.env.CI,
  },
  projects: [
    {
      name: "chromium",
      use: {
        ...devices["Desktop Chrome"],
        connectOptions: {
          wsEndpoint: "ws://localhost:3000/",
        },
      },
    },
  ],
});
This setup worked fine for me, although I haven’t tried it on macOS and Windows yet, just on Linux. I tried to run tests in Firefox as well, but the tests failed. I have not investigated this any further. My primary goal was to automate the tests, not to make them work cross-browser, for the moment.
Conclusion
Playwright does not solve the common problems of visual regression testing automatically, but it is quite easy to create comparable screenshots across platforms, by extending the official docker-images a little. I find this solution easier to implement than the Selenium Hub solution that I had used in the past.
So far, I have only tested my approach on my Linux dev machine and in GitHub Actions. I should test it in GitLab CI/CD, macOS and Windows as well.
If you want to learn more about visual regression testing, I rather enjoyed the talk “Writing Tests For CSS Is Possible! Don’t Believe The Rumors” by Gil Tayar on CSSconf 2019. There are many other blog posts and videos out there as well.
Finally, if you want to spend some money, there are services like BrowserStack, SauceLabs, Browserling, TestingBot, chromatic and Percy that provide browsers in the cloud and allow you to tunnel back to your dev-machine, or to CI/CD.
I think that none of these services is cheap enough to be used in personal projects without revenue stream. But if you really need visual testing in your product, and you have a budget for this, you might want to consider it.
Oh, yeah: None of the services pay me to mention them, and I am not suggesting to use a particular service. This is not advertisement, I just want to clarify that there are services like that.
That’s it from me so far. I hope you enjoyed the article. I hope you learned something new. I hope my setup works for you as well.