Wooden Enterprise D (Transfer paint on wood)
How did I manage to transfer the laser-printed cutting lines onto wood? I tried different things. Here is my conclusion.
I managed to cut decks 26 to 36 out of my plywood sheets now. The main problem that I encountered was to transfer the cutting lines onto the wood. I have the templates in my computer as SVG files, but I need to cut them out, so how do I transfer them?
Printing the templates
Most of the outlines of the engineering and dorsal sections are smaller than ISO A4, so there it no problem to print them out.
But I added the nacelle holders to deck 35 and 36, which makes it larger. And for the saucer, I also need a way to print templates larger than ISO A4.
Last, but not least. The plywood sheets that I use here have ISO A2 size and would it not be nice to arrange the templates on the computer already, to maximize the wood that is actually used, i.e. minimize trash.
So what I did was:
- Create a rectangle with an isometric grid (Inkscape -> Extensions -> Render -> Grids -> Isometric grid) and resize it to the appropriate size.
- Set an appropriate element ID for this grid.
- Add the element ID to my Makefile in my wooden-enterprise-d project. The Makefile is rather complicate already, but it runs the next steps automatically.
- Run Inkscape in a pipeline to first create an SVG where the page is defined by
the grid object and then create a PDF from that page: Something like this:
inkscape all-deck-outlines.svg \ --export-filename=- \ --export-id="page-engineering-1" \ --export-type=svg | \ inkscape --pipe --export-filename="page-engineering-1.pdf" - Run the
pdfposter.sh-tool, that use the approach described in leolca’s blog to create multiple ISO A4 pages with crop marks. - Create a flipped version of the poster pdf, so that it can be used for the “glue-and-scrub-off” approach.
I then printed and cropped the A4 pages and glued them together. The isometric grid is helpful to align the prints correctly.
Glue-and-scrub-off
When researching methods to transfer paint on wood, I found some posts and videos that suggest the following:
- Use wood-glue to fix the paper onto the wood, the print facing towards the wood. (I only put glue on the paper, because I only wanted to glue the parts with lines.)
- Let the glue dry.
- Use a wet sponge or a piece of cloth to rub the paper of.
I use a piece of cloth and noticed the following:
In principle, this approach works, but you have to rub a lot. And I notice that the paint comes of the paper eventually.
If you want to use this approach, make sure to use waterproof wood glue. This worked a lot better.
I am a bit afraid that I won’t be able to glue the decks together, if there is already a layer of waterproof glue on top of the wood, sealing the surface. That’s why I won’t be using waterproof glue to transfer the templates.
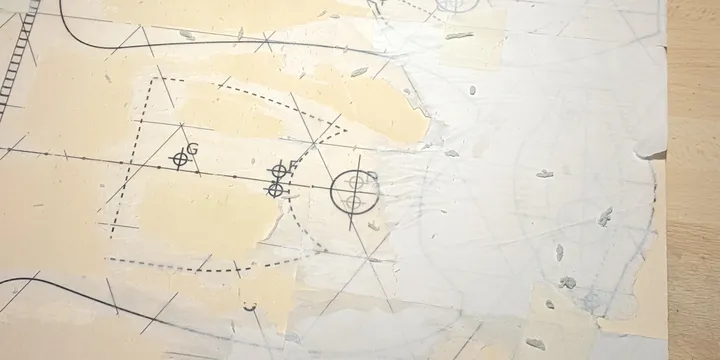
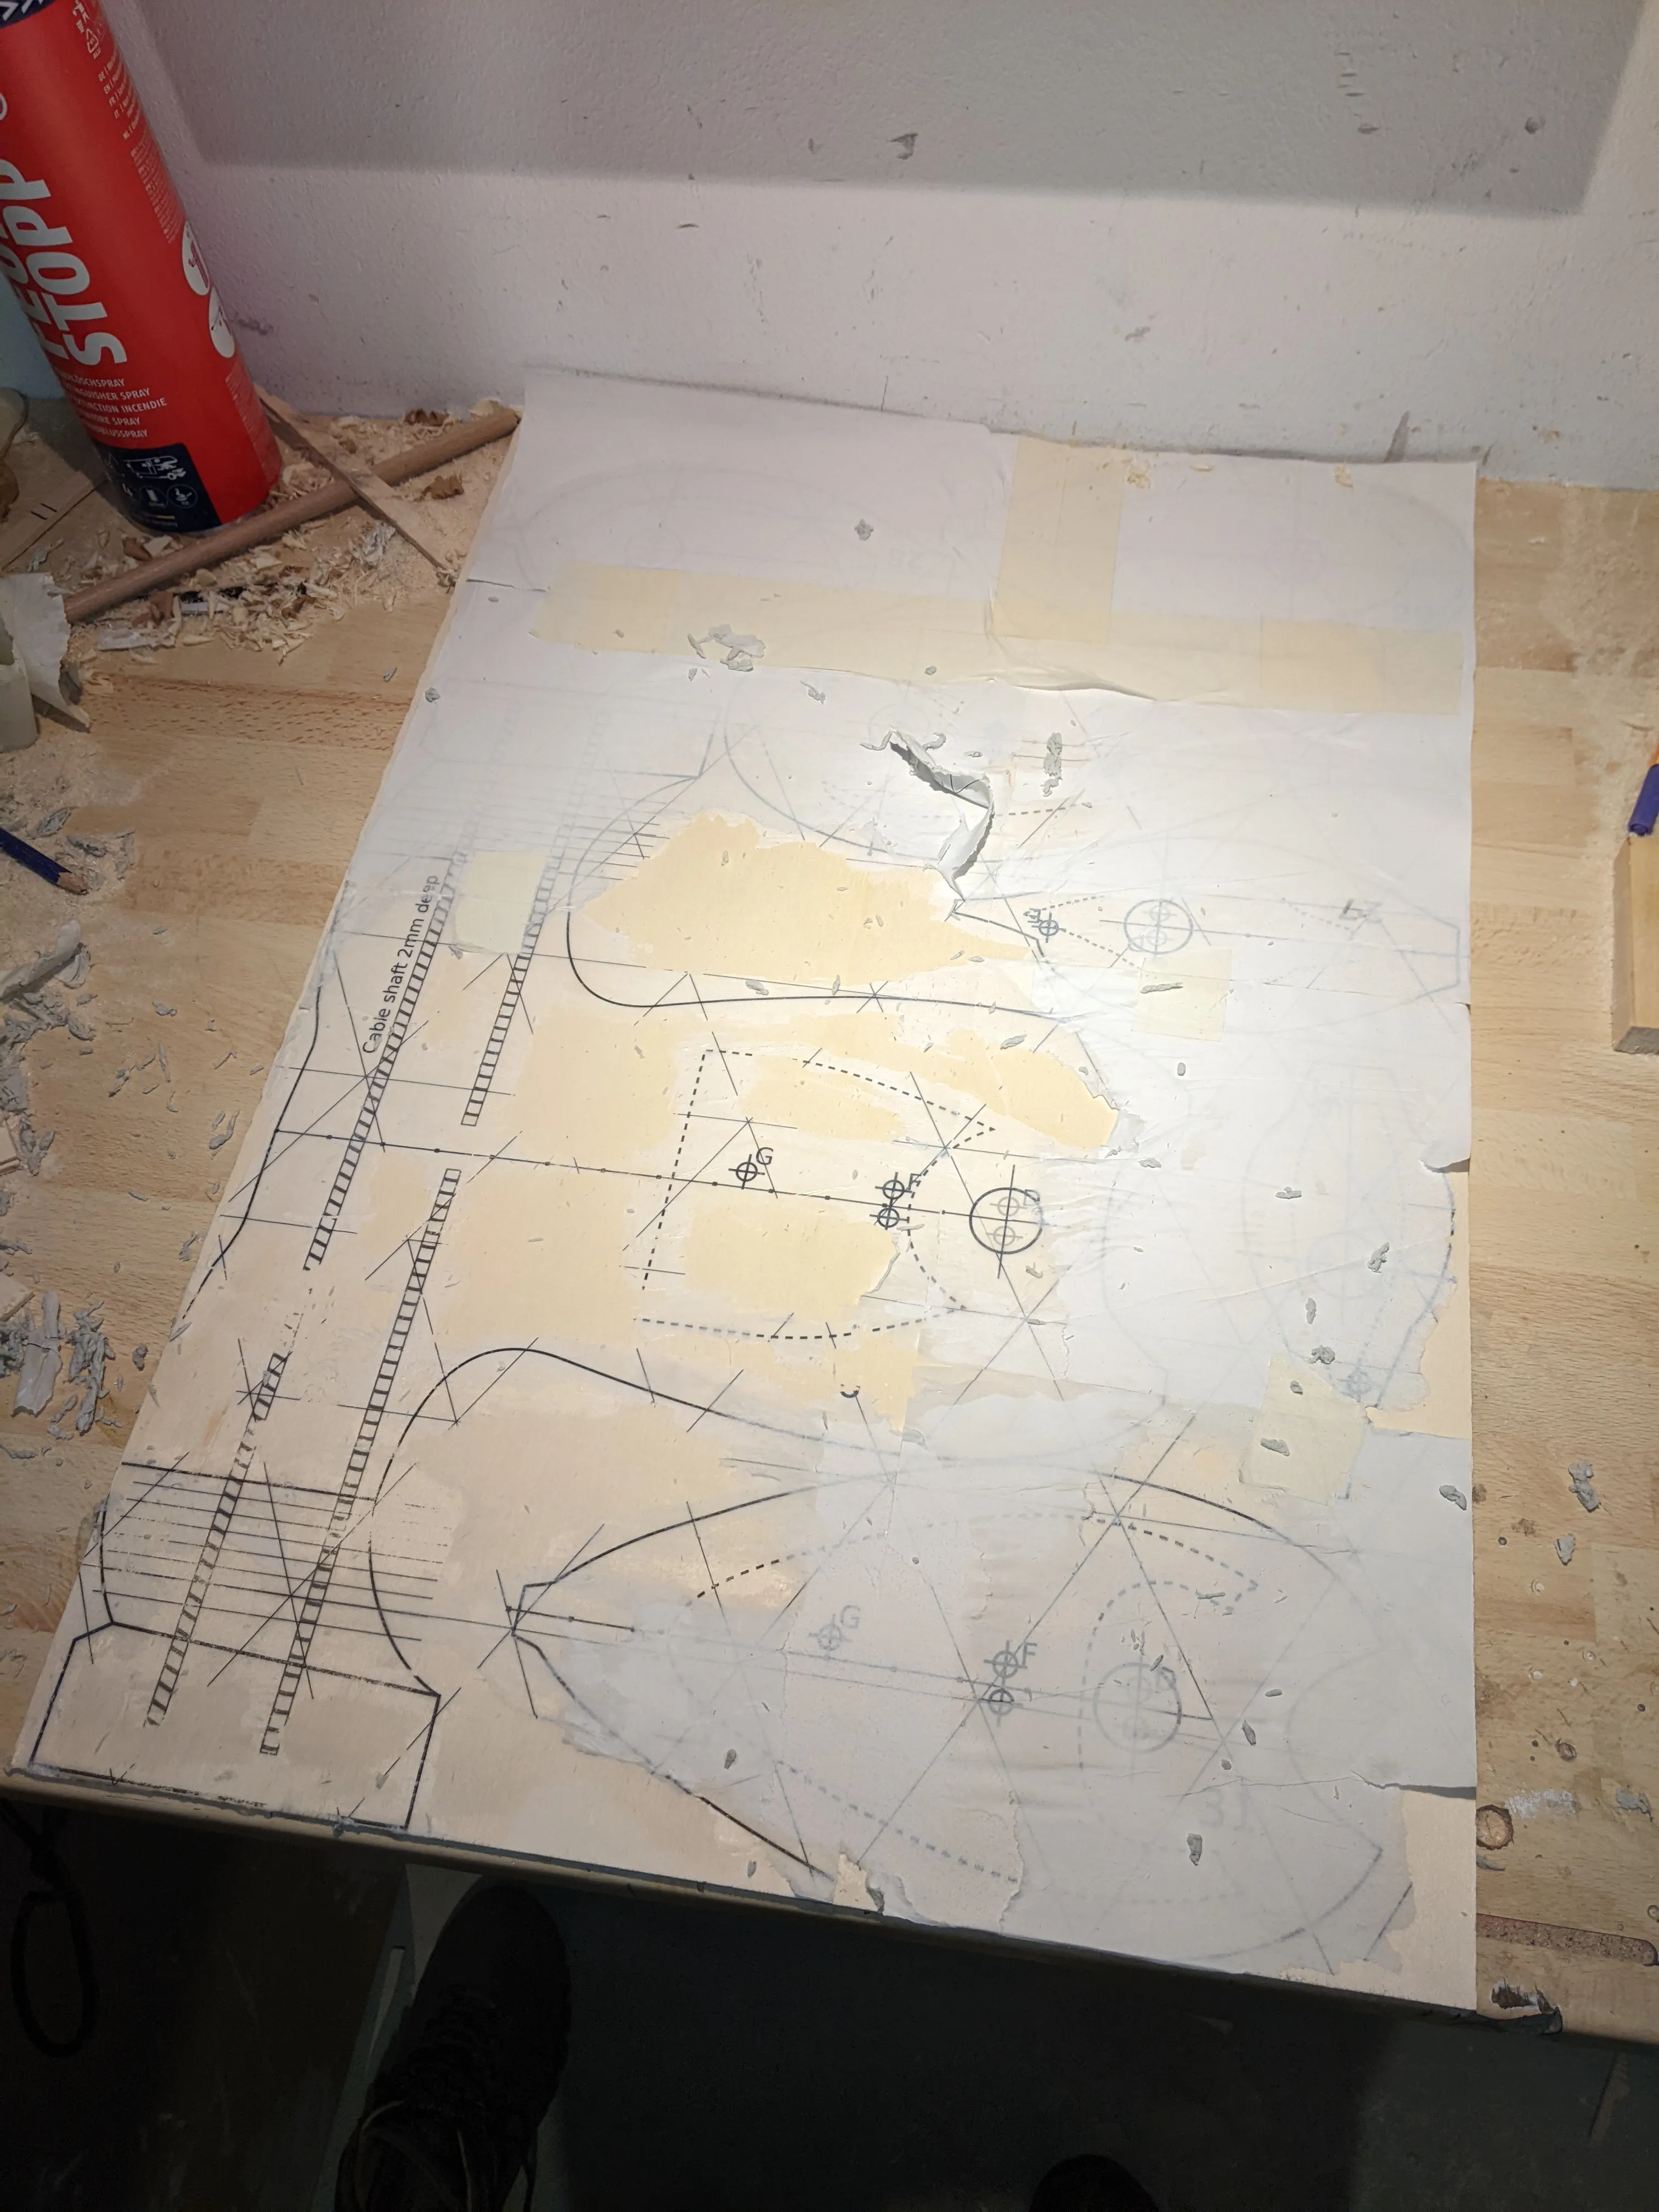
You may have noticed, that the photo above has plenty of parts where the paper is not scrubbed off yet. I just left the paper there, cut the woods, used the saw for some markers that I otherwise would have only painted, and then put the finished pieces into water for about an hour.
After that, it was no problem to remove the paper and the glue, but also the text. It is not a perfect solution either.
Trace using carbon paper
For decks 35 to 32 I used the non-mirrored version of the templates and bought some carbon paper to transfer the paint onto the wood. The result looks nice, but it was a lot of work.
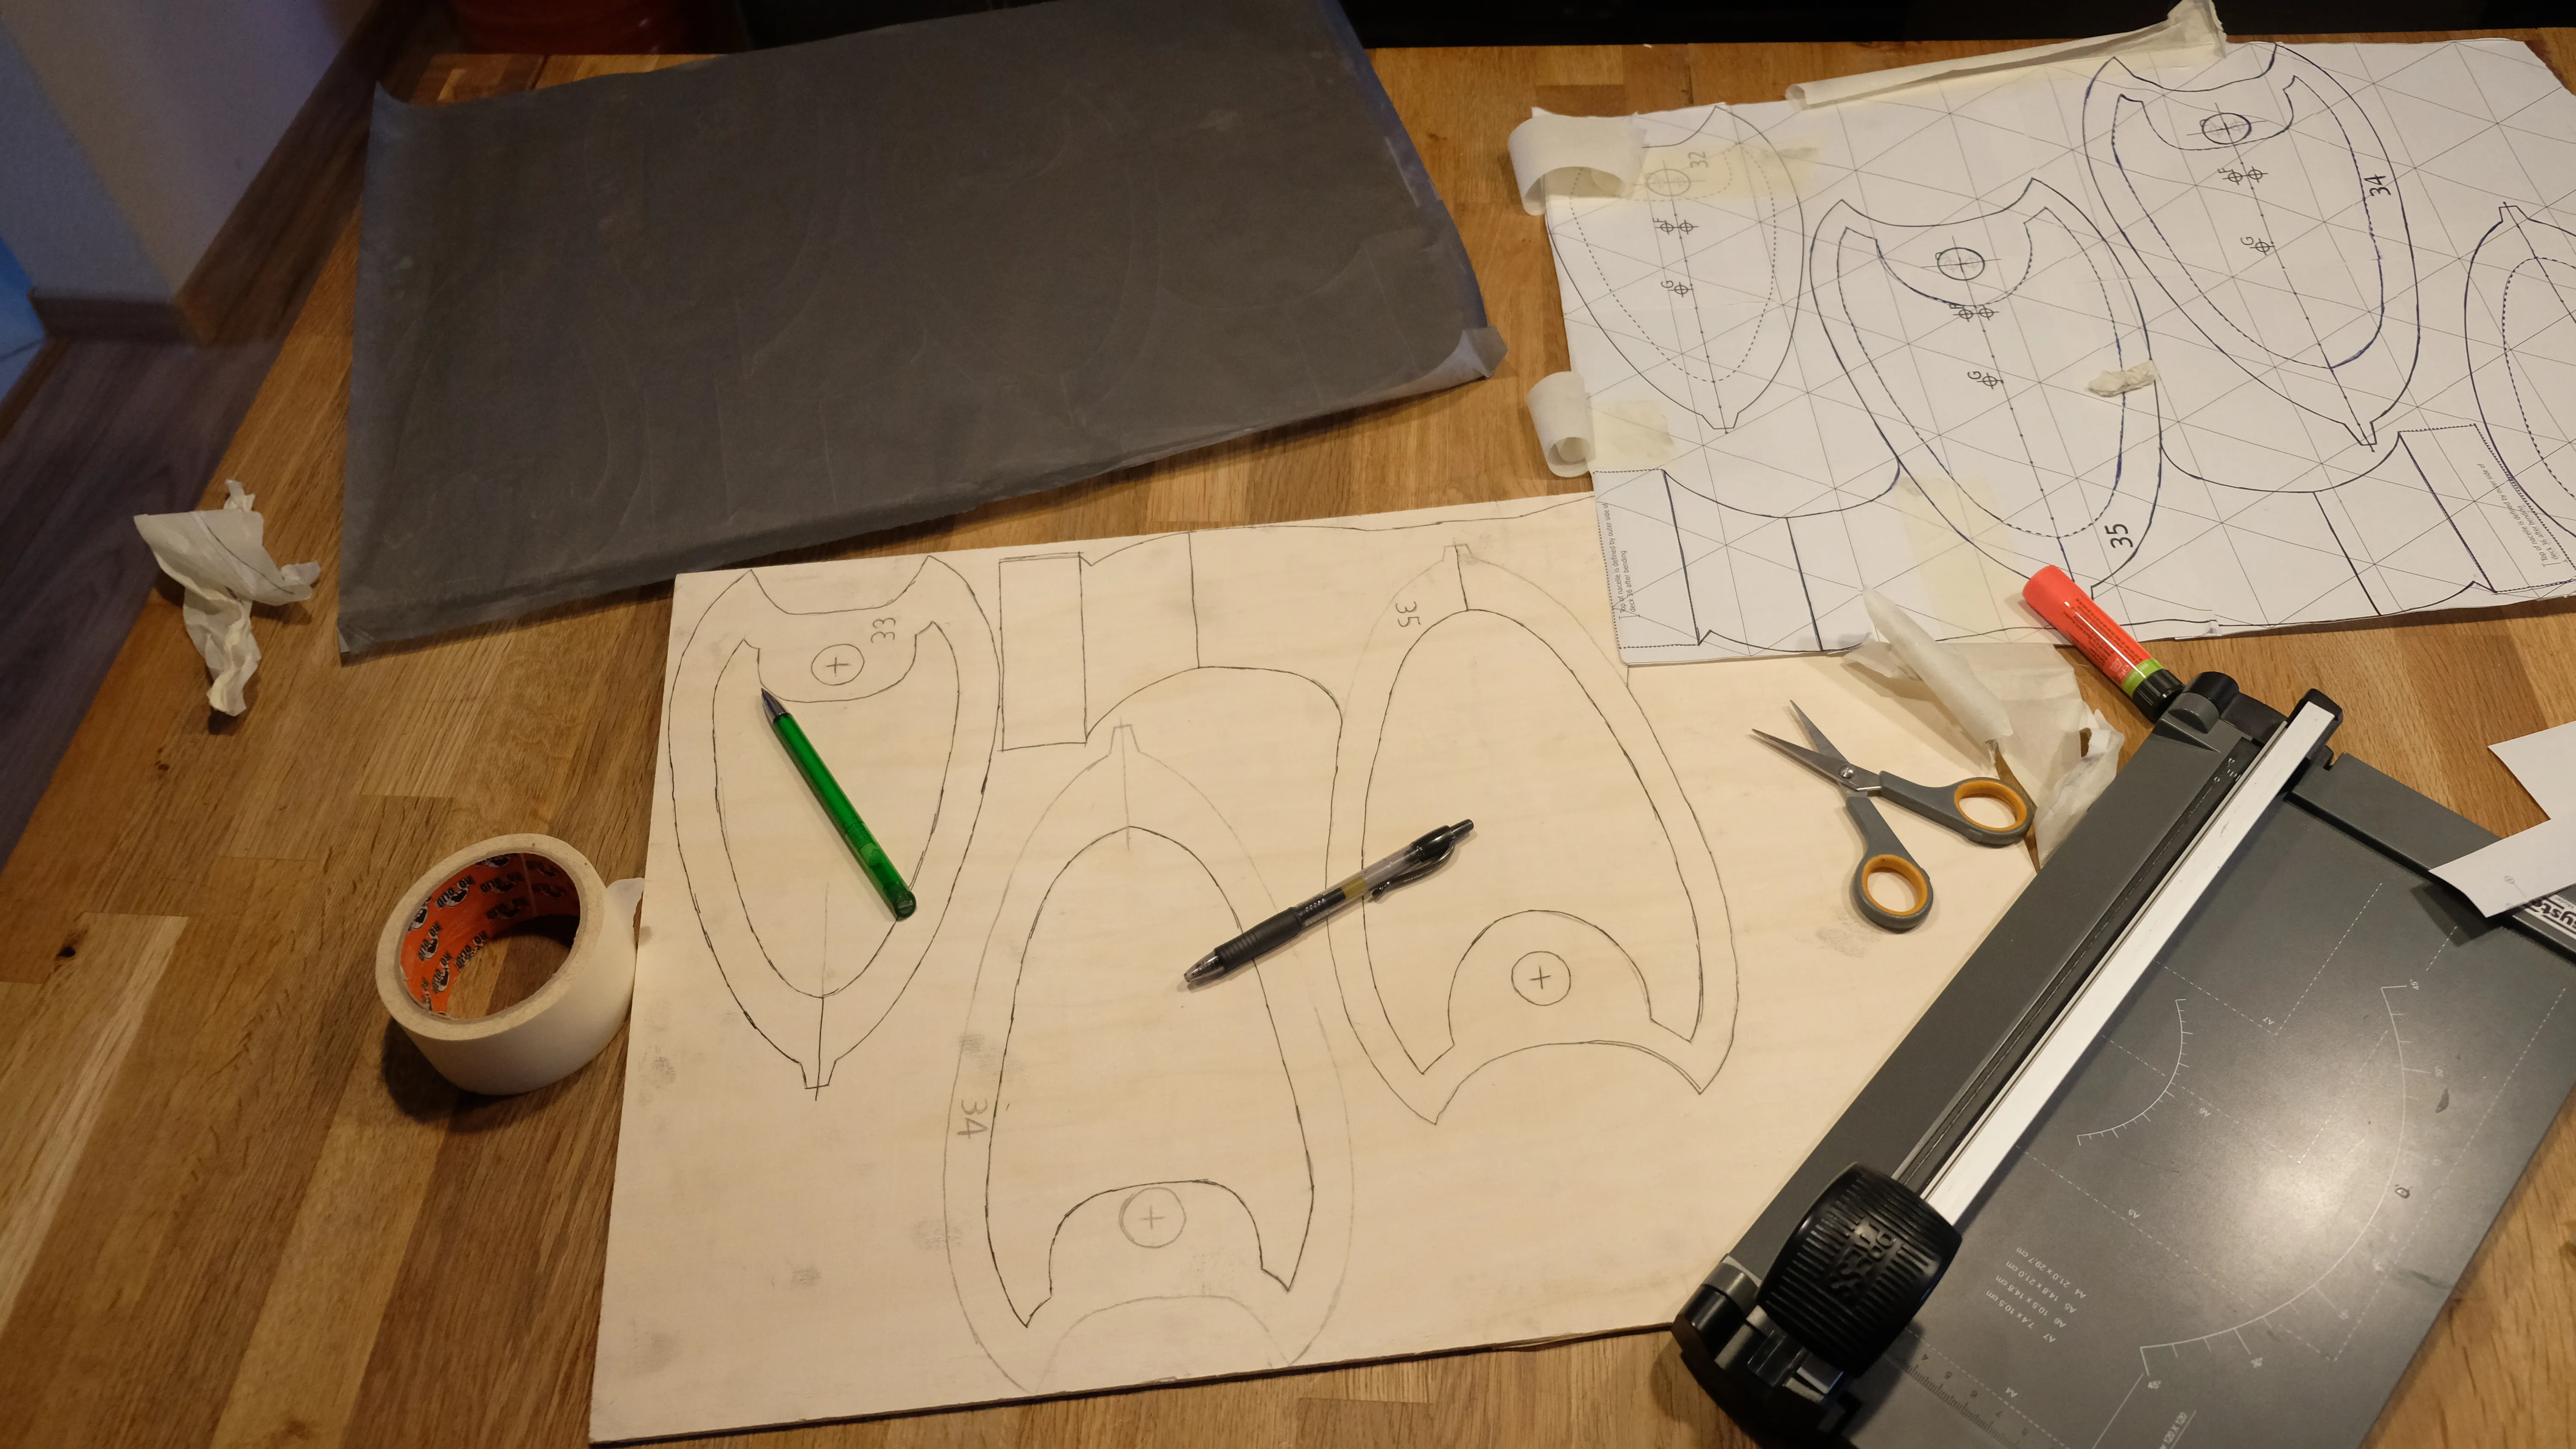
I first fixed the carbon paper to the wood using tape, which did not stick well on the paper. Then I did the same with the printed template.
I used a ball pen to trace the lines of the template, hoping they would appear on the wood. Then I removed the paper and traces the carbon lines again using another pen.
This approach is really exhausting for the hands, because you have to press hard with the ball pen.
It is also difficult to stretch the paper across the whole area, so the paper never really stuck to the wood. I was a bit worried that my lines would be off and inexact. And to be honest, I did not verify if they were.
Conclusion
I am not completely satisfied with any method that I applied so far. Maybe, I will just glue the paper to the good, saw it out and then wash it off again.
For the smaller parts, I might also use the carbon paper again. I guess this works better, for smaller paper sheets.
And here is how decks 26 to 35 look like when glued together. Deck 36 is still separate, because I need to bending the nacelle struts first. I also need to carve out some space for the power-cables to the warp nacelles light up, but this is a story for later.
