Wooden Enterprise D (Approach)
Holiday projects are nice. And this one does not have to do much with programming. I am going to build an Enterprise D lamp from 4mm wood sheets. This is about planning and fist steps.
This project came to my mind when I thought about. What project can I start,
that does not involve so much
programming. I don’t want to spend my nights doing it (failed last night), but
it should be large enough to take several months at my rate of progress. I am
already at it for several months now…
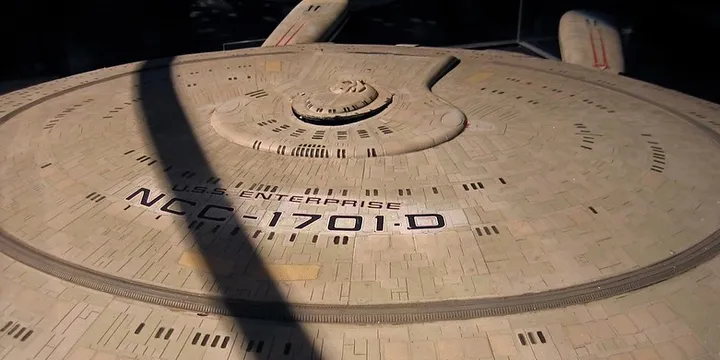
I want to build a lamp in the form of an Enterprise NCC-1701-D. Lighted windows, lighted deflected dish and warp nacelles. This lamp will hang in our staircase. And the lighting will come from individually controllable LED, which will allow me to provide red and blue lighting for the warp nacelles as well as full white lighting it necessary. I wanted to be able to control each window, but there are just too many windows…
Getting the shape right
How to I get the proportions right? While searching for proper images of the Enterprise D, I came across blueprints for every deck as well as drawings, from the top, bottom, front and side. I decided to use these as template for my project.
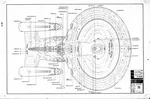
The blueprints are avaiable at cygnus-x1.net and have been created by Ed Whitefire. Mr Whitefire spent two years of work and research to draw those plans, only to find that his publisher had let the license with Paramount Pictures expire during that time.
Go to cygnus-x1.net to read the full story and information on how to purchase them directly from him.
Disclaimer: I am not affiliated with cygnus-x1 or Mr Whitefire and I don’t get any money from this. But he wasn’t opposed to me using these blueprints in my blog and I think it’s fair to link back to the sources.
My first attempt to get the shape right was to trace the saucer section and the battle section separately, combine this with an image from the side and create pieces that en be put together as a scaffolding for the rest of the work, using the papier-mâché technique.
Saucer bottom 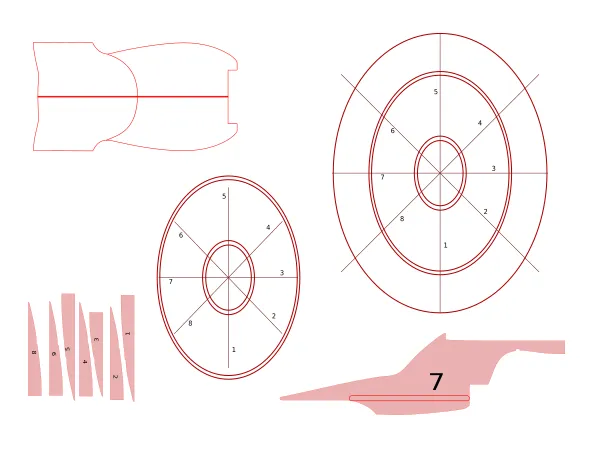 | Saucer top 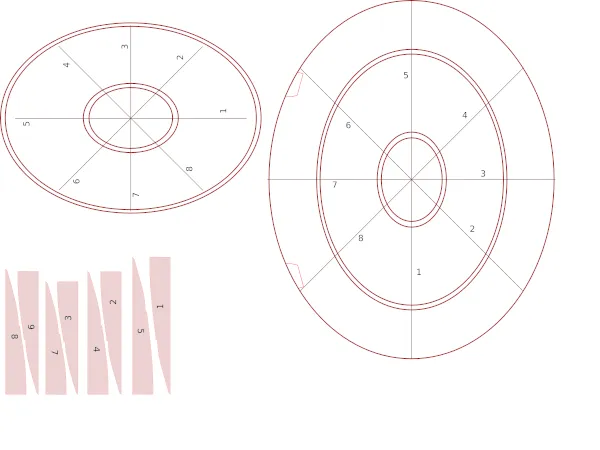 |
But I was very critical about this approach. Would I get the roundings correctly. What about the part between sauce and engineering? The shape is very complex. I’d never get this done accurately, so I though of another approach.
A better approach: deck by deck
I could not find any official measurements of the Enterprise D, but there is a fan site, Kaspar Online, which states the following:
- Length: 642,5 metres
- Width: 467,0 metres
- Height: 137,5 metres
Using the blueprints for all 42 decks, I can trace the outline of each deck and cut it out of a 0.4mm plywood panel. When I glue them all atop each other, I should have a roughly correct model of the outside. There are just two problems:
- Getting the size right. I have created a small Google Sheet for this: Enterprise D model size calculator. (edit in your own Google account)
- Getting the position of each deck right.
For me, the model size will be
- Length: 78.50 cm
- Width: 57.06 cm
- Height: 16.80 cm
Since the saucer takes up the whole width, I can use this to size the elements correctly in Inkscape.
Adjusting the decks
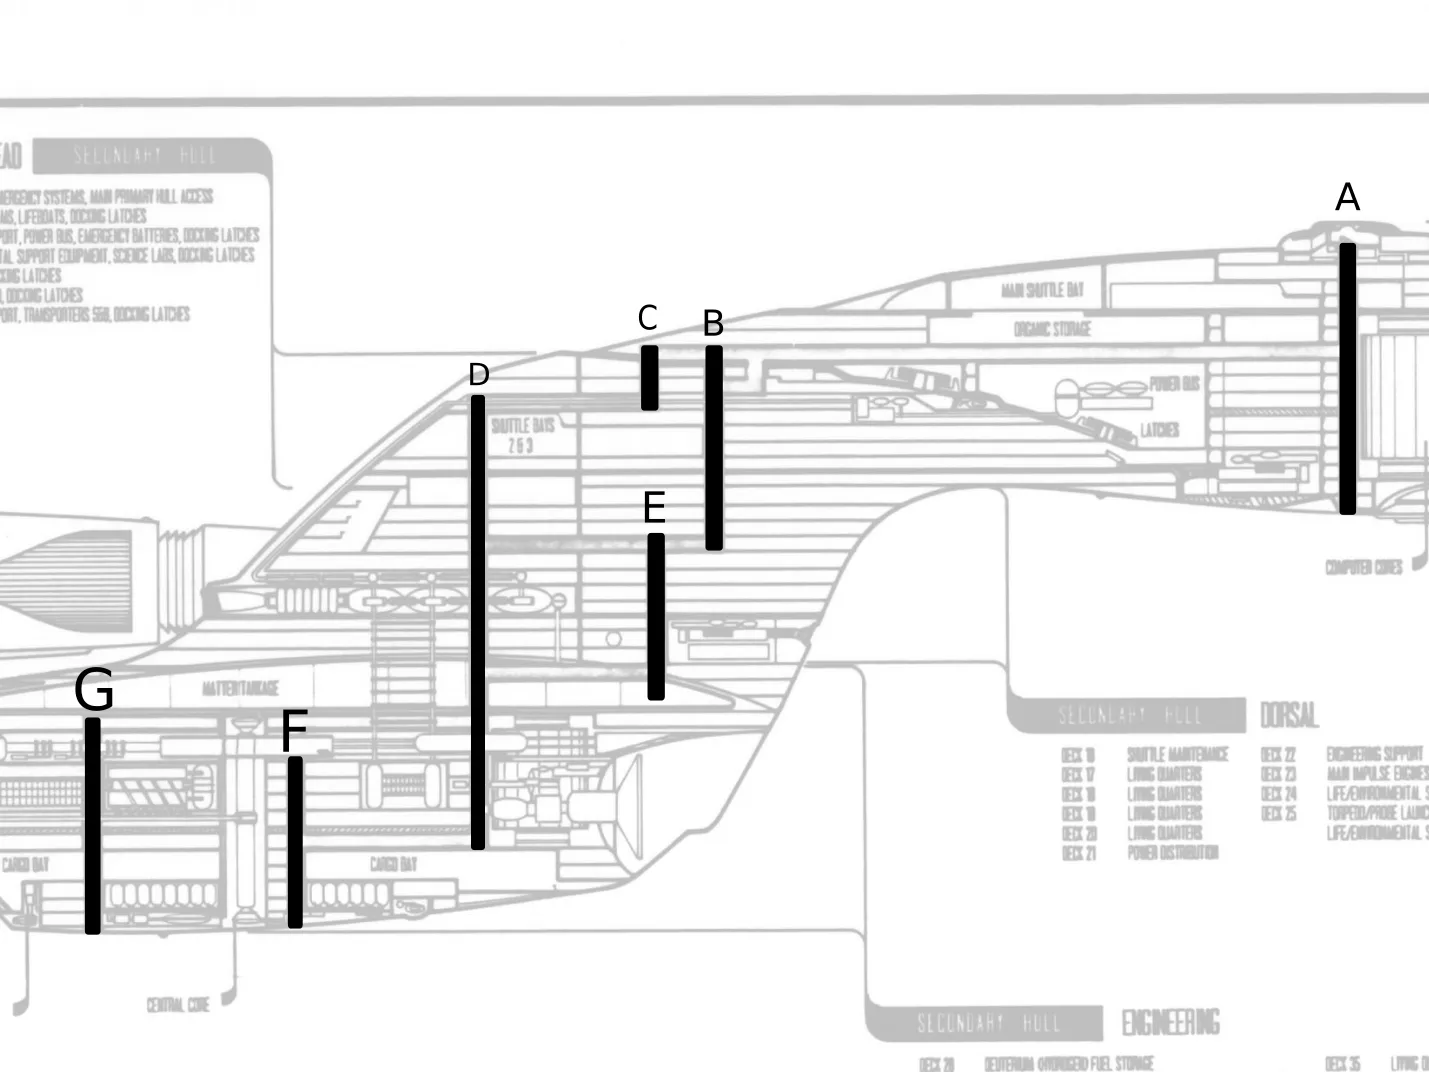
This is a bit of a problem. Almost no deck has common borders with the deck below or above. But we need to find some anchor points that we can use to layout the different decks correctly. But there are vertical shafts. I assume these are the turbo lifts. And they are visible in multiple deck plans. You just have to find them.
Vertical shafts in the blueprints | Shaft markers in the deck plan |
|---|---|
 |  |
So what did I do:
- Copy all the blueprints into an Inkscape SVG document.
- Traces the outline of each deck
- Mark shafts in each deck
Testing
Before using the actual wood to build a model, I did run a small test with a paper model. I used cardboard, 0.6mm thick and scale the model appropriately to 11.78cm x 8.56cm.
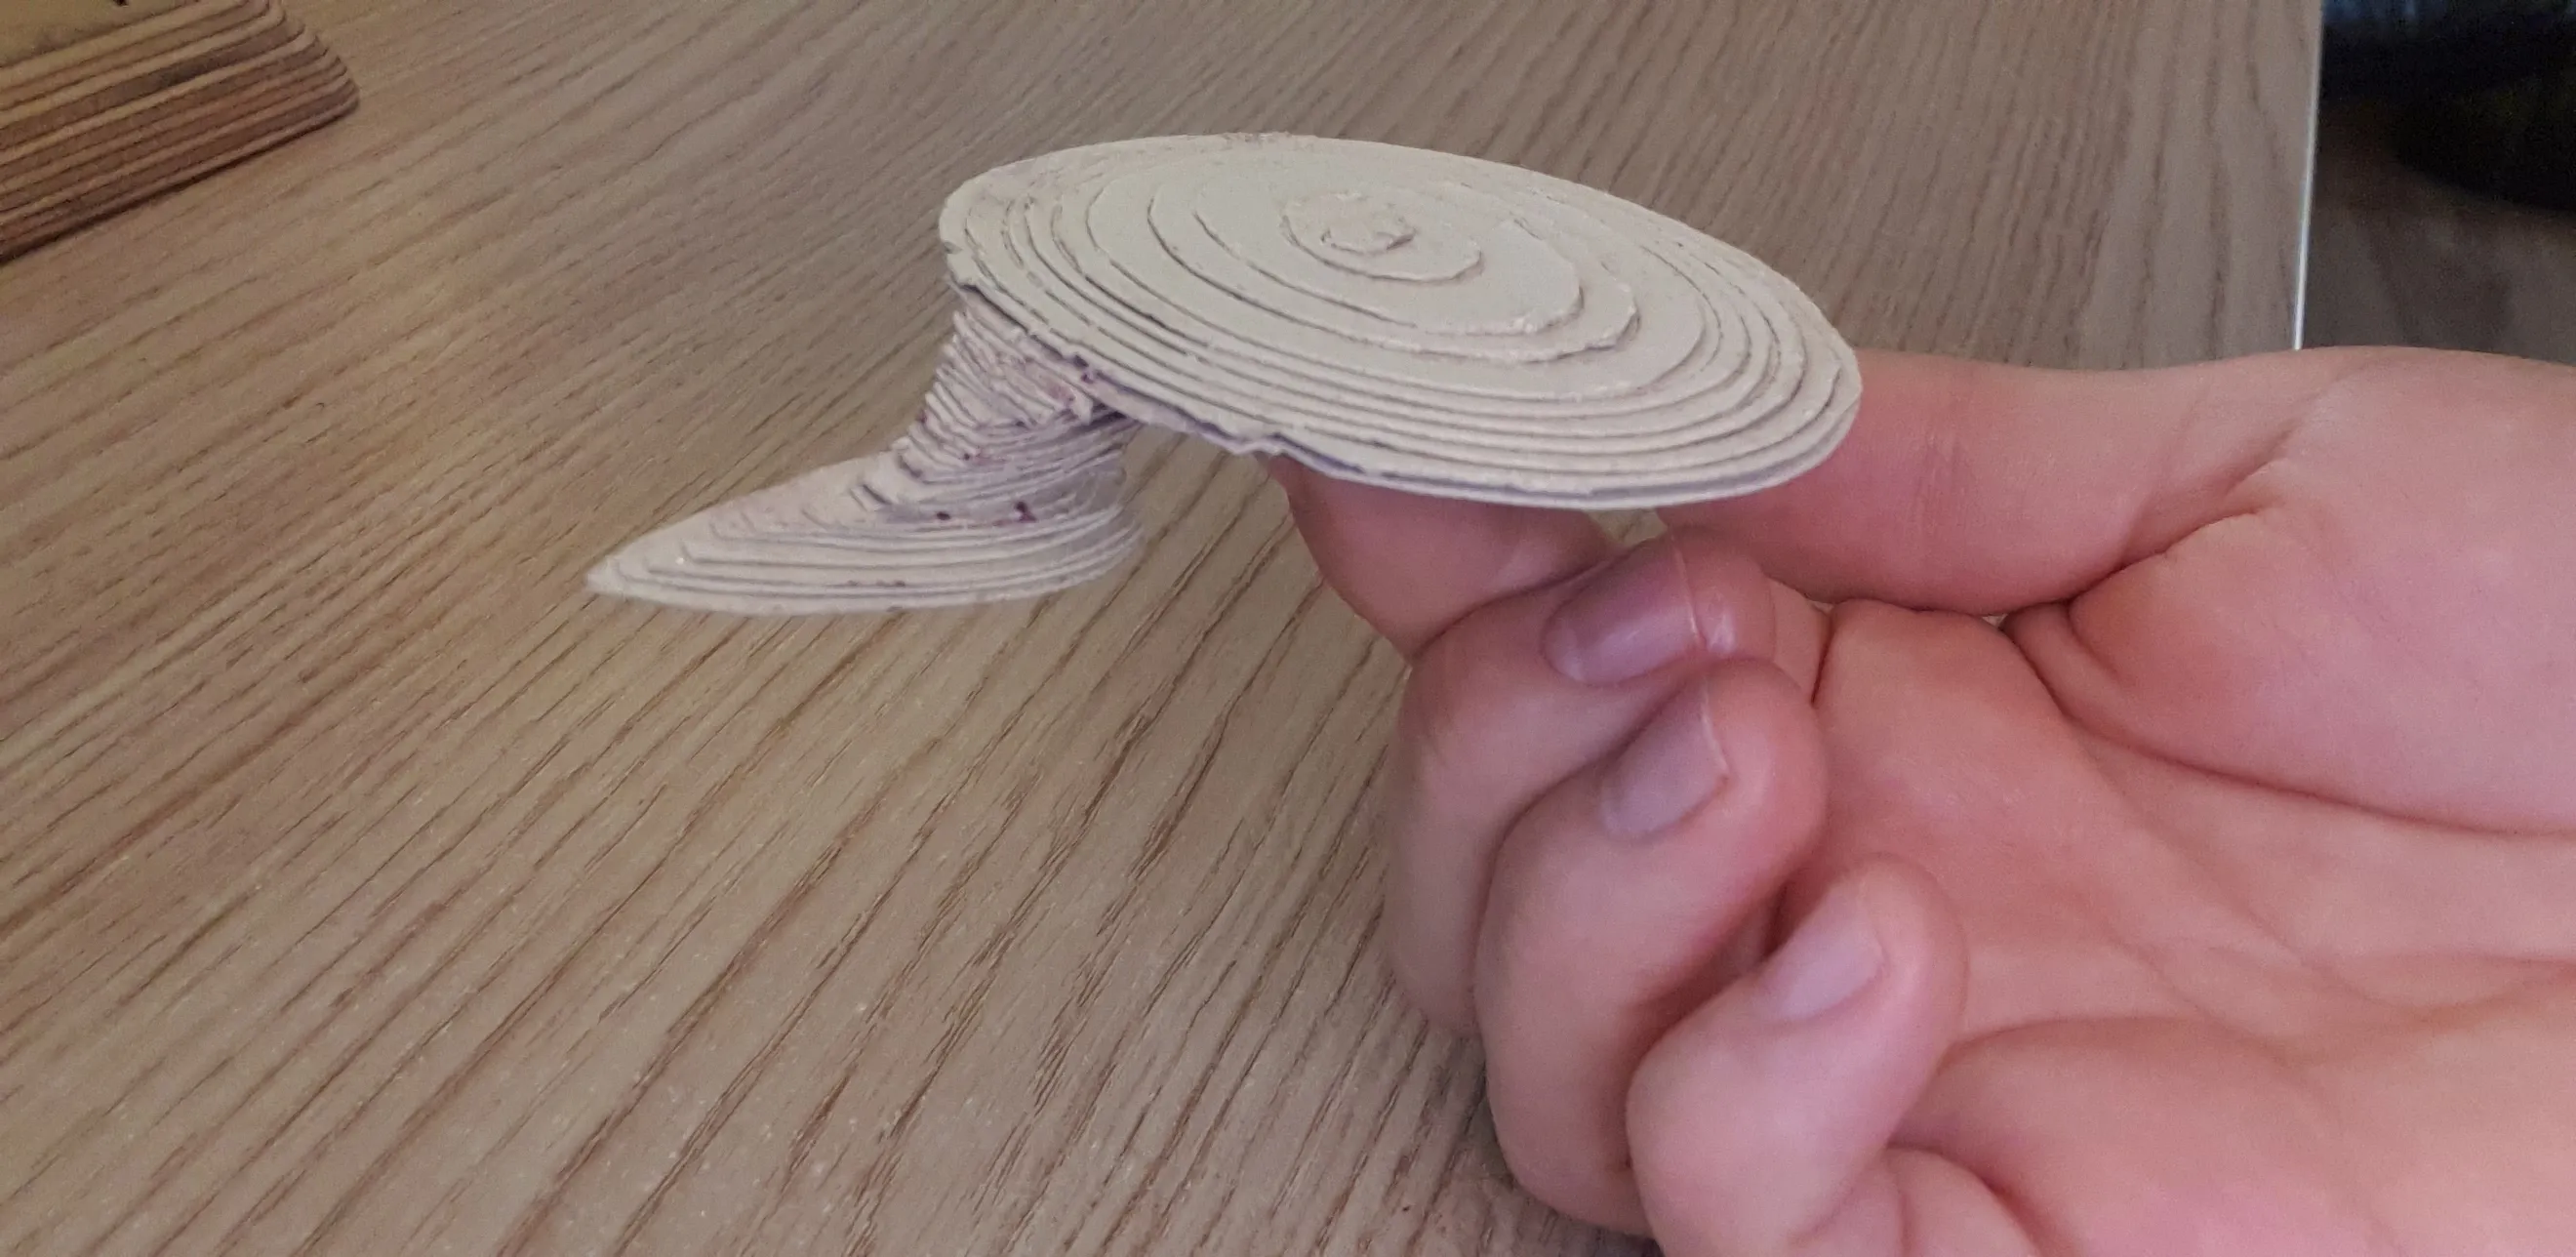 |
In order to save cardboard (and later wood), I just used two copies of the top saucer total, instead of one per deck. On the left side, I cut out the circles of the even decks and on the right side the odd decks. They can then be nicely assembled.
Next steps
I want to create a small 3d model in HTML in order to visualize the layers again and find potential flaws. I will print the outlines and transfer them to my poplar plywood boards, cut them and put them together. I will write another post when this is done.